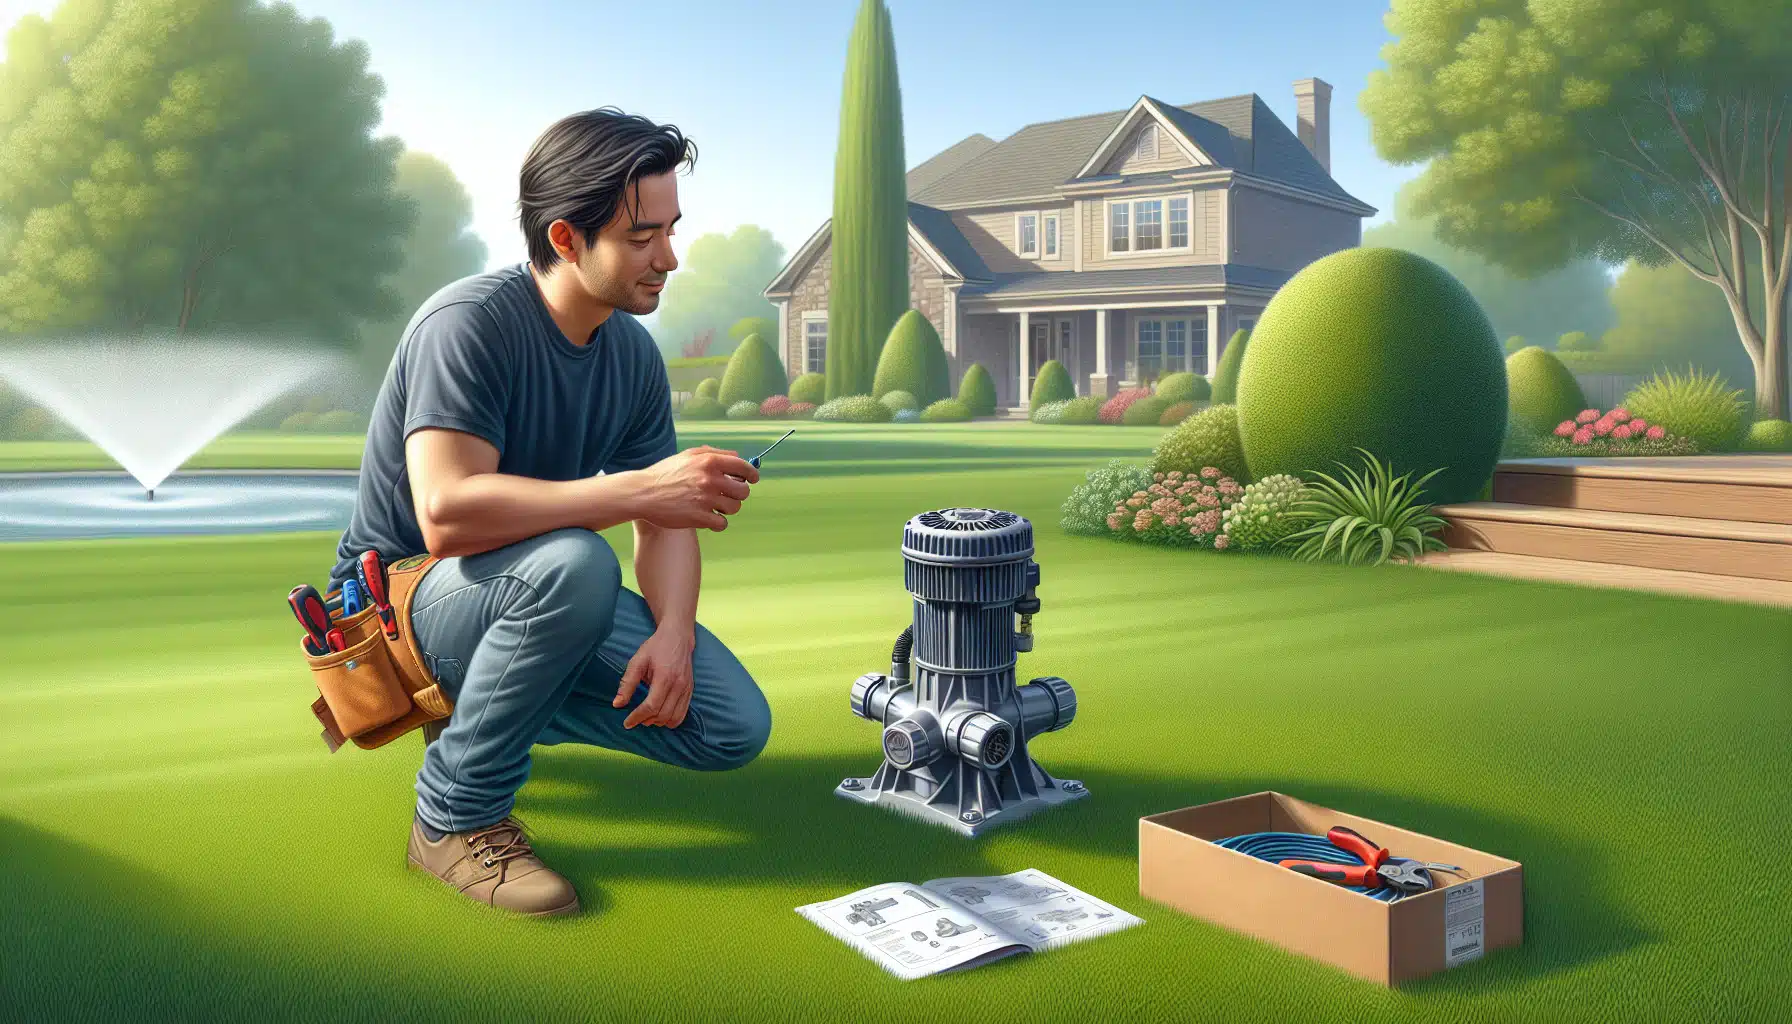
How to Install a Lawn Sprinkler Pump: A DIY Guide
Facing low pressure from an old sprinkler pump or needing an upgrade for more efficient irrigation? Replacing your lawn sprinkler pump, particularly with models like the Red Lion RL-SPRK150 115/230 Volt, 1.5 HP, 71 GPM Cast Iron Sprinkler/Irrigation Pump, designed for three zones residential use, can significantly enhance your gardening experience[1]. Knowing how to install a lawn sprinkler pump is vital for homeowners looking to maintain their lush landscapes without professional help.
This article will guide you through the essential steps and considerations in the DIY installation process of a lawn sprinkler pump. From gathering the necessary tools and materials to the final pump priming and maintenance tips, you’ll find everything you need to ensure a successful setup and upkeep of your lawn water pump[1].
Tools and Materials Required
Before embarking on your journey to install a lawn sprinkler pump, gathering all necessary tools and materials is crucial. This ensures a smooth and efficient installation process. Here’s a comprehensive list to guide you:
Tools Required:
- Hacksaw [1][5]
- Pipe Wrenches (2) [3][5]
- Wire Strippers [3][5]
- Needle-Nose Pliers [3][5]
- Phillips Screwdriver [3][5]
- Wire Cutters [3][5]
- Adjustable Wrench [3][5]
- Ratcheting Pipe Cutter [4][6]
- Measuring Tape, Trenching Shovel, Drain Spade (Sharpshooter) [6]
- Sod Cutter, Leaf Rake, Garden Rake, Mattock, Tamper [6]
- Loppers, Axe, or Chainsaw for clearing the installation area [6]
Materials Required:
- PVC Pipes: 1-1/2 in. and 2 in. Sched 40 PVC pipe [1][5]
- Connectors: Eight 1.5 inch, 2 inch to 1.5 inch reducer, 1.5 inch to 1.5 inch thread, 2 inch elbow [1]
- Ball Valve, Couplers (1-1/2 in. and 2 in., quantity varies based on pipe length) [1][5]
- PVC Cement and Primer, Thread Tape, Thread Paste [2][5][6]
- 2” Foot Valve or 2” Suction Strainer with Check Valve [5]
- Additional Fittings: MPT x Slip Adaptors, Pipe Tee, Reducer Bushing, MPT Plug, 90º Pipe Elbows [5]
Preparatory Items:
- Marking Flags, Pen and Paper for planning [6]
- Guide Wheel and Marking Spray-Paint for layout [6]
- Knee Pads for comfort during installation [6]
- Waterproof Wire Nuts, Electrical Tape for wiring [4][6]
Gathering these items before starting will not only save time but also prevent any unnecessary interruptions during the installation process. Ensure all parts are present and tools are in good working condition to facilitate a seamless setup of your lawn sprinkler pump[3].
Electrical Wiring and Safety
When installing a lawn sprinkler pump, proper electrical wiring and safety precautions are paramount to ensure efficient operation and prevent accidents. Here’s a comprehensive guide:
- Initial Wiring Setup:
- Safety and Compliance:
- Engage a professional electrician to examine electrical components, ensuring secure connections and correct amperage [8].
- Adhere to local, NEC, and OSHA electrical and safety codes [5].
- Protect against power surges with surge protectors or voltage stabilizers [11].
- Disconnect power before any maintenance and avoid handling the pump with wet hands or standing in water [5].
- Wiring and Connection Details:
- The pump is pre-wired for 230 volts, with a switch available for adjusting between 115 volts and 230 volts [3].
- Connect the motor’s four wires (one black, one white, and two black wires from the power supply) using wire nuts, securing them without pushing back into the motor [3].
- Use underground wire and PVC electrical conduit for buried wires, ensuring all wiring is performed by a qualified electrician [12][17].
Following these guidelines will help maintain the integrity of your lawn sprinkler water pump installation and ensure long-term safety and efficiency.
Preparation and Safety Precautions
Before diving into the installation process of your lawn sprinkler pump, it’s crucial to prepare the site and take necessary safety precautions to ensure a smooth and safe setup. Here’s what you need to do:
- Site Preparation:
- Dig a trench from the water source to the pump location, ensuring it’s about six to eight inches below grade to protect the piping and facilitate drainage [2].
- The pump should be mounted on a stable, level surface, ideally as close to the water source as possible to minimize the loss of efficiency and protect it from the elements. Consider installing a pump house or cover to shield the pump from rain, snow, and direct sunlight [11] [17].
- Ensure proper drainage around the pump area to prevent water from pooling, which could potentially damage the pump or its electrical components [11].
- Safety Precautions:
- Install a backflow prevention device to prevent canal or other non-potable water from flowing back into the city water system, ensuring the safety of the water supply [2].
- Insulate the pump and pipes in areas with freezing temperatures to prevent damage and ensure efficient operation year-round [11].
- Regularly inspect the system for any leaks, tighten connections as necessary, and ensure all parts are present before beginning installation to avoid any unnecessary interruptions [19].
By following these preparatory steps and safety measures, you’ll be well on your way to a successful installation of your lawn sprinkler pump, ensuring it operates efficiently and safely for years to come.
Step-by-Step Installation Process
Step-by-Step Installation Process
- Preparation and Assembly:
- Begin by sawing off the old 1.5-inch pipe and removing any debris from cutting PVC from the sprinklers [1].
- Assemble the new pump, a Flow Tech model purchased from Amazon, ensuring it includes an inlet screen to prevent debris from entering [2].
- Attach a new elbow and a 2 inch to 1.5-inch reducer thread for the pump inlet, followed by a 6.5-inch extension to reach the pump. Make sure to assemble all fittings without cementing first to ensure a proper fit. Then, use primer and cement them, allowing it to dry for about a minute before applying cement [1].
- Electrical Connection:
- Remove the pump back cover to access the wiring, insert wires through the waterproof fitting, and ensure a tight fit. This step is crucial for the safety and efficiency of the pump [1].
- Test the motor after wiring to ensure correctness. If the pump does not prime within a minute after turning the power back on, shut it off and repeat the priming process starting from removing the priming plug [1][18].
- Final Steps:
- Fill the pump case with water through the priming hole using a funnel or a garden hose, continuing until all air has been removed from the pump case, indicated by the dissipation of air bubbles. After ensuring that the pump case is free of air, replace the priming plug, applying thread sealing before tightening it back up [18].
- Connect a water hose to the pump, preferably with a sprayer attachment for better water flow. Open the top spigot, turn on the water and count to 20 before turning the timer to the ‘on’ position. The pump motor will change sound and water will start to spray out. Turn off the spigot when the sprinkler head begins to pop up [23].
- Wait for an hour to ensure the pump holds prime. This step is essential to confirm the successful installation and operation of your lawn sprinkler pump [23].
Pump Priming
Understanding the priming of your lawn sprinkler pump is crucial for its efficient operation. Here’s a straightforward approach to ensure your pump is correctly primed for optimal performance:
- Identify the Priming Requirements: Most lawn sprinkler pumps are designed to be self-priming, meaning they are capable of evacuating air from the pump and suction line by themselves. However, it’s essential to identify whether your specific model requires manual priming. This information is typically found in the pump’s manual. Manual priming involves filling the priming port and pump housing with water before the initial operation to create the necessary vacuum for water flow [1].
- Steps for Manual Priming:
- Locate the priming port on your pump. This is usually clearly marked.
- Remove the priming plug with an appropriate tool.
- Slowly fill the pump housing and priming port with water until it reaches the top. Be patient, as it might take a while for the pump housing to fill completely, depending on the pump size.
- Once filled, securely replace the priming plug, ensuring a tight seal to prevent air from entering.
- Checking for Successful Priming: After the initial filling, turn on your pump. A successfully primed pump will start moving water through the system. If the pump fails to prime, turn it off immediately to prevent damage, and repeat the priming process, ensuring that there are no air leaks and that the priming port and pump housing are adequately filled with water [1].
By following these guidelines, you can ensure that your lawn sprinkler pump is primed correctly, leading to efficient and reliable operation.
Maintenance Tips
To ensure the longevity and optimal performance of your lawn sprinkler pump, regular maintenance is paramount. Here’s a breakdown of essential maintenance tips:
- Routine Inspections and Performance Checks:
- Conduct regular inspections as per the manufacturer’s guidelines to catch and rectify issues early [8].
- Listen for unusual noises or odors and watch for leaks or abnormal pressure levels, which could indicate problems [8].
- Test pump performance regularly against original efficiency metrics to ensure it operates at peak efficiency [9].
- Lubrication and Sealing:
- For water lubricated pumps, ensure the water passage is clear for cooling and lubrication [8].
- Oil lubricated systems require frequent checks of the oil level and quality. Replace or refill as necessary [8].
- Check all mounting points, seals, pump flanges, and couplings for security and leaks. Replace any worn or damaged parts promptly [8].
- Filtration and System Calibration:
- Maintain suction, screen/disc, sand, and hydro-cyclonic filters according to the irrigation system’s requirements [9].
- Flush mainlines, submains, and lateral lines as needed to prevent clogging and maintain water flow [9].
- Calibrate your sprinkler system regularly to ensure efficient water usage and avoid over or under-watering [26].
- Inspect and service control valves and pilot solenoids annually for reliable operation [9].
By adhering to these maintenance tips, you can significantly extend the life of your lawn sprinkler pump, ensuring it provides consistent and reliable service for your landscaping needs.
Conclusion
Understanding the intricacies of installing a lawn sprinkler pump is crucial for homeowners aiming to achieve a lush, vibrant garden through efficient irrigation. This guide has meticulously covered the journey from gathering the necessary tools and materials to ensuring the pump is correctly wired up, primed, and ready for operation. The step-by-step process detailed here not only simplifies what could be an overwhelming task but also equips DIY enthusiasts with the know-how to undertake this project with confidence, ensuring their landscapes remain well-watered and thriving.
Beyond installation, the emphasis on regular maintenance and the ability to address potential issues before they escalate cannot be overstated. A well-maintained pump is key to ensuring the longevity and efficiency of your lawn’s irrigation system. For those looking to further refine their choice or considering an upgrade, our guide to choosing the best lawn sprinkler pump offers additional insights, helping you make an informed decision that fits your gardening needs. With the right approach and a bit of effort, the rewards of a well-installed and maintained sprinkler pump will be evident in the health and beauty of your lawn.
FAQs
Q: Is a pressure tank necessary for my irrigation system’s pump?
A: Yes, a pressure tank is necessary to alleviate the strain on your pressure switch/controller. Without it, the switch/controller might fail prematurely, potentially at a time when you need it most.
Q: What is the cost range for installing a sprinkler pump?
A: The cost for installing a residential irrigation pump typically ranges from $80 to $500, not including labor. Additional parts and maintenance, such as timers, can cost between $10 and $325 depending on their features and the number of zones they control.
Q: Can I integrate a pump into my existing sprinkler system?
A: Yes, you can add a fire pump to your sprinkler system if the existing water pressure is inadequate to supply the necessary pressure to all sprinkler heads during operation. This is especially important in scenarios where the flow must be sufficient to cover the area at risk.
Q: How does a lawn sprinkler pump operate?
A: A lawn sprinkler pump functions by drawing water from a source, such as a well or a pond, and then pressurizing it to deliver it through the sprinkler system at a consistent and adequate flow rate to water your lawn effectively.
References
[1] – https://www.youtube.com/watch?v=cJBB7isi7Mk
[2] – https://www.youtube.com/watch?v=IlTLItzp3Ng
[3] – https://www.youtube.com/watch?v=xIfdDFMzErY
[4] – https://sprinklersupplystore.com/collections/sprinkler-installation-tools
[5] – https://www.rainbird.com/media/12705
[6] – https://www.youtube.com/watch?v=T1gb8G9FX_k
[7] – https://www.plumbersstock.com/how-to-sprinklers/system-parts-list.html
[8] – https://pumpbiz.com/blog/sprinkler-pump-maintenance
[9] – https://www.irrigationnz.co.nz/PracticalResources/IrrigationDevelopment/MaintenanceTips
[10] – https://spillerssprinklers.com/tips-for-sprinkler-pump-troubleshooting/
[11] – https://theirrigationshop.com.au/blogs/news/a-guide-to-home-water-pump-maintenance-servicing-and-protection
[12] – https://www.youtube.com/watch?v=CcHFaiujry4
[13] – https://www.anglianpumping.com/page/blog/view/our-top-4-safety-tips-with-water-pumps
[14] – https://pumpsolutions.com.au/9-tips-for-water-pump-safety/
[15] – https://www.safeatworkca.com/safety-articles/irrigation-safety/
[16] – https://www.jeepumps.com/20-pump-safety-steps-all-engineers-should-know/
[17] – https://www.youtube.com/watch?v=JCFd9gH0etI
[18] – https://www.youtube.com/watch?v=YwQLMV11Ko4
[19] – https://www.reddit.com/r/lawncare/comments/l6oa9u/priming_a_dry_irrigation_pump/
[20] – https://www.linkedin.com/pulse/pump-safety-installation-operation-guidelines-hydroway-tfr6f
[21] – https://pdf.lowes.com/useandcareguides/50238325_use.pdf
[22] – https://www.lowes.com/n/how-to/install-an-underground-sprinkler-system
[23] – https://www.youtube.com/watch?v=Vc1EcpTKm7Y
[24] – https://www.youtube.com/watch?v=TfeVXVbsBn8
[25] – https://www.ehow.com/how_5024537_prime-lawn-sprinkler-pump.html
[26] – https://www.truevalue.com/diy-projects/patio-and-garden/landscaping/irrigation-system-maintenance/


